Are your Staff Trained on using Q’Straints?
If your company runs wheelchair-accessible vehicles, there’s a good chance they’re equipped with Q’Straint securement systems—and an equally good chance many of your drivers haven’t been properly trained on how to use them. New hires may be left guessing how to properly use the securement system. With high staff turnover it can be hard to keep up with the training requirement.
We serve several large organizations with fleets ranging from 50 to 100 vehicles. While these vehicles are constantly in motion, transporting individuals who rely on wheelchairs, many staff members aren’t given the tools they need to secure passengers safely and legally. That’s a risk no fleet should take.
Capital Lease Group provides in person Q’Straint training for customers within the area of our HQ. Our team includes certified trainers who can lead on-site Q’Straint training sessions tailored to your fleet. If you’re unsure whether your staff is properly trained—or if you’ve had high turnover recently—this is a great time to get back on track.
Ready to Schedule a Session? Reach out to us to learn more about how we can provide in-person training or digital resources to help your drivers keep passengers safe and secure—every trip, every time. If you are unable to take in person training, Q’Straint offers online certification on their website here.
What Proper Q’Straint Training Covers
Here’s what effective Q’Straint training covers:
- Inspecting straps and mounts for wear or damage
- Securing and releasing wheelchairs correctly
- Locking wheelchairs in position to prevent movement in transit
- Stowing equipment after use to prevent wear
- Troubleshooting lift and ramp systems
- Understanding liability, safety protocols, and insurance compliance
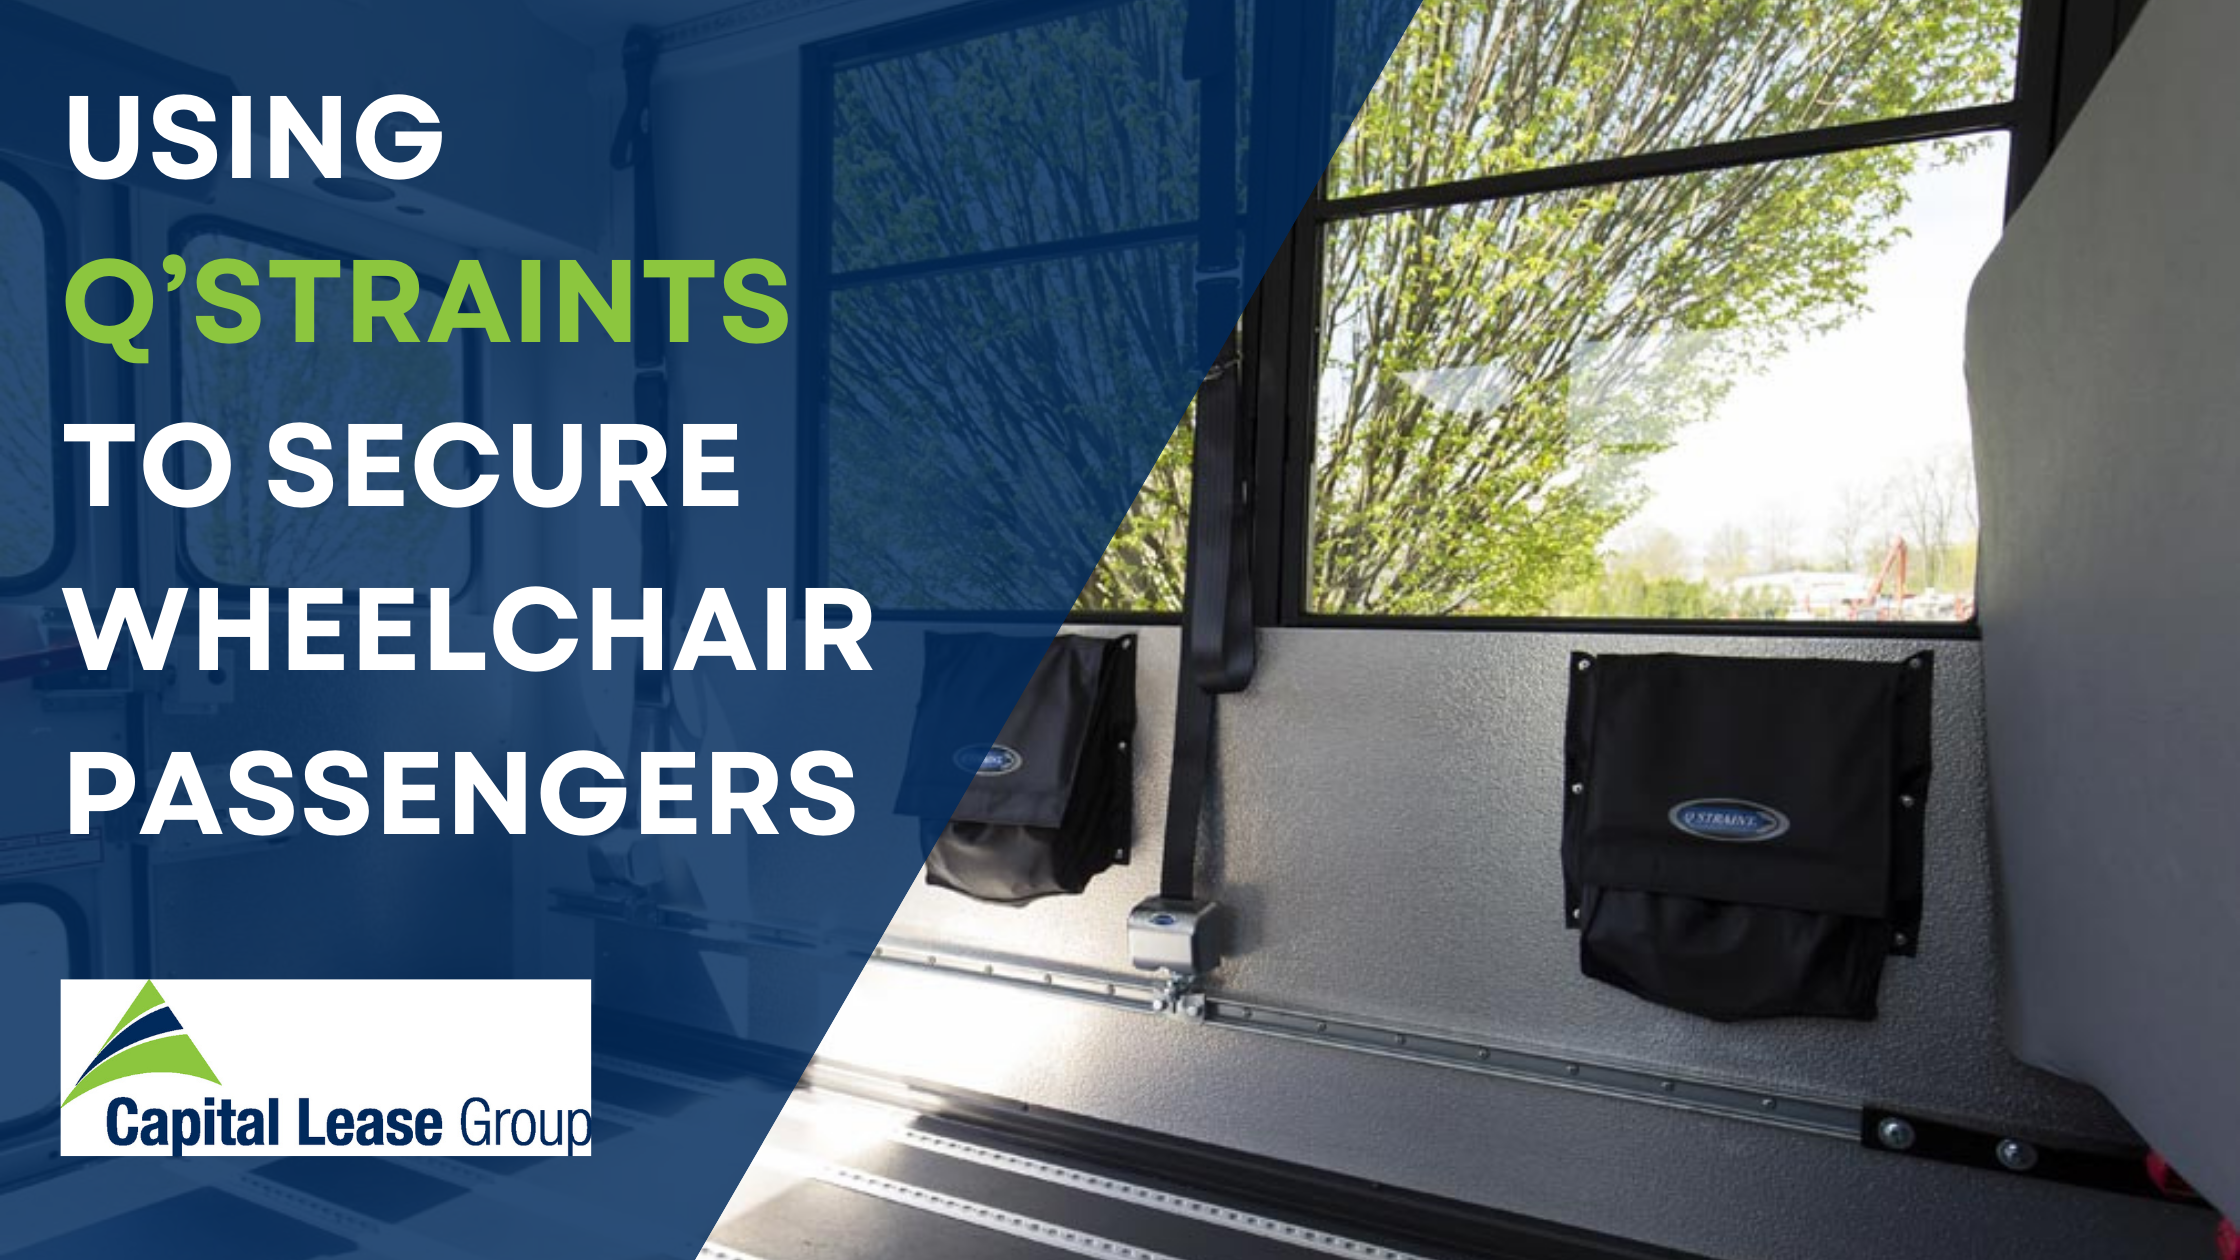
Step-by-Step: Securing a Wheelchair with Q’Straint
Here’s a step-by-step guide on how to secure the wheelchair in place. You can also watch this video, which while a little dated, is still an excellent visual aide on how to use Q’Straints properly.
1. Position the Wheelchair
-
Action: Maneuver the wheelchair into the designated securement area of the vehicle.
- Tip: Ensure the wheelchair is centered and aligned, allowing for optimal strap angles.
2. Attach Front Tie-Downs
- Action: Connect the front straps to the lower frame of the wheelchair, near the front wheels.
- Tip: Avoid attaching to removable parts like footrests. The straps should angle outward slightly for lateral stability.
3. Attach Rear Tie-Downs
- Action: Secure the rear straps to the lower frame near the back wheels.
- Tip: The rear straps should angle inward slightly, creating an “X” pattern when viewed from above.
4. Tighten All Straps
- Action: Use the retractor mechanisms to remove slack from all four straps.
- Tip: The wheelchair should be stable with minimal movement, but avoid over-tightening which could damage the frame.
5. Apply Occupant Restraint System
- Action: Fasten the lap belt across the occupant’s pelvis, then attach the shoulder belt from the vehicle’s anchor point to the lap belt.
- Tip: Ensure the belts are snug but comfortable, mirroring standard seatbelt usage.
6. Final Safety Check
- Action: Confirm all straps are secure, the wheelchair is immobile, and the occupant is comfortably restrained.
- Tip: Double-check that no straps are twisted and all buckles are properly latched.
For visual guidance, consider watching this instructional video:
Let Capital Lease Group help you design the ideal vehicle for safe, comfortable, and efficient transportation.—learn more today!